Today, a friend asked the editor a question, how can the old motherboard be upgraded with NVME SSD? Although the PCIE switch device can be installed on the old device, because it does not support the NVME bus, the BIOS must be modified to boot, which is too difficult for many people...

Upgrade NVME, don’t buy wrong
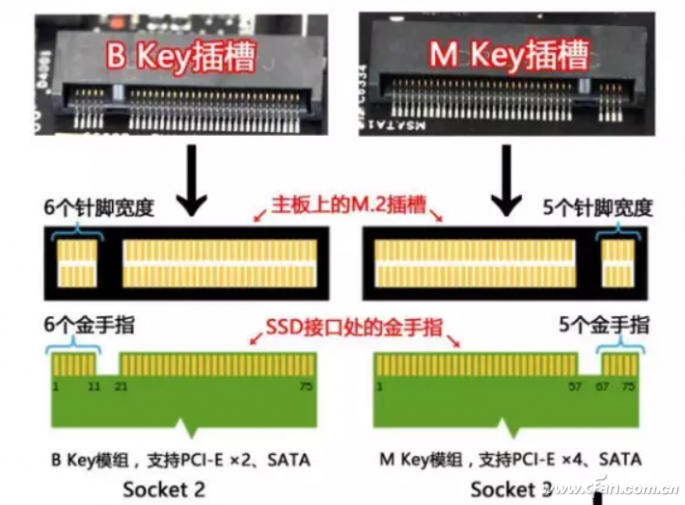
NVME hard disk actually refers to the solid state hard disk with M.2 interface M key, only the solid state hard disk of this specification can be transferred through PCIE adapter card; if it is the M.2 interface hard disk with B key, only SATA hard disk can be transferred The transfer device is used, of course, it does not involve the problem of not being able to boot, just install the system normally.
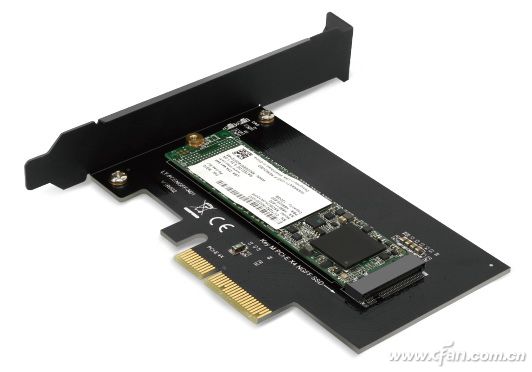
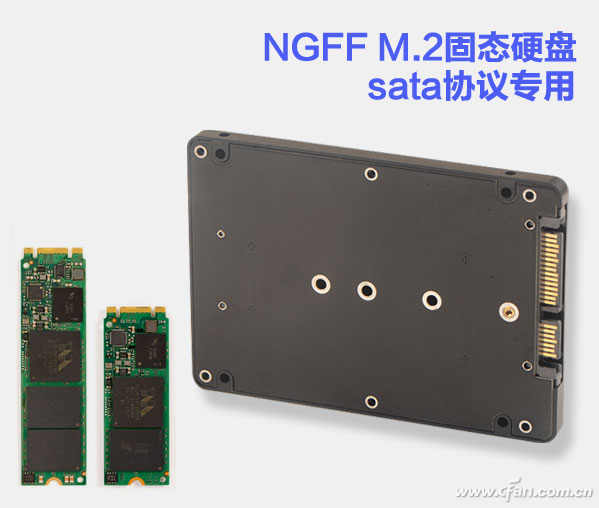
If you don’t know how to distinguish, see the previous newsletter "What is NVMe?" Five pictures to figure out those things about SSD will be clear.
Speed ​​up the old computer and look at this first
However, this switching method has a huge problem for the previous products of the Intel 100 series and AMD 300 series chipset motherboards: it does not support booting-because the NVME hard disk cannot be found in the BIOS. This problem is caused by the BIOS being too old. Except for some half motherboards that have official BIOS updates, the UEFI BIOS of most old chipset motherboards need to be injected with NVMe drivers to solve this problem, but this operation is a bit of a fantasy for ordinary people. .
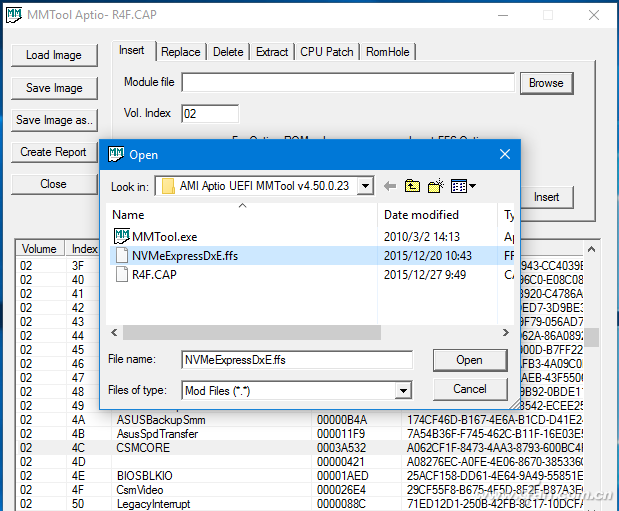
No need to modify BIOS to realize NVME boot
Modifying the BIOS is naturally done once and for all, but it is indeed too difficult. To be honest, I don't recommend it. Now there is a workaround to solve this problem by simulating boot loading the UEFI partition with a U disk. The additional equipment required is just a U disk. First download the Bootdisk Utility ( download address: https://pan.baidu.com/s/106hqjn3WcvilmQ7PcqO6ug), then insert the U disk, click to run after downloading.
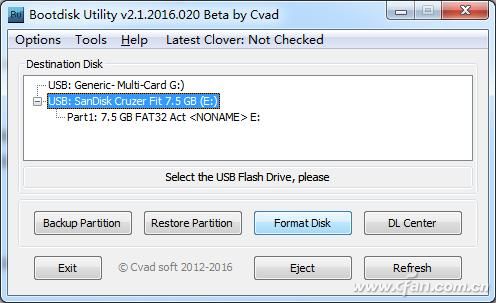
Select the USB flash drive to be used for booting and click "Format". This process will be relatively long, because it not only performs formatting, but also automatically downloads the boot program online, and automatically executes partitioning.
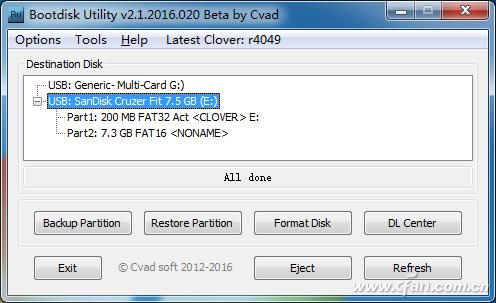
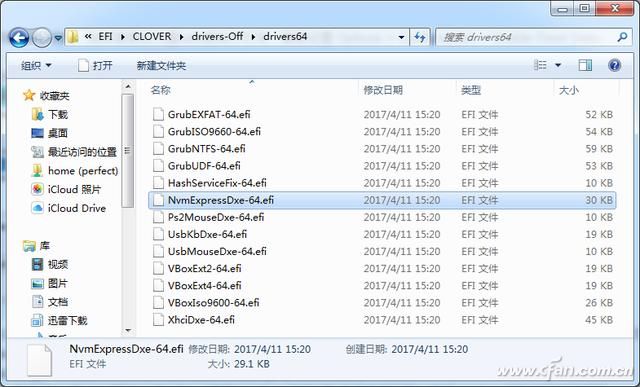
After the execution is completed, the U disk will become two partitions, one is a 200MB FAT32 partition, and the other is a partition with remaining capacity and no drive letter assigned. Exit Bootdisk Utility at this time, then open the 200MB U disk letter, find the NvmExpressDxe-64.efi file in the EFI\CLOVER\drivers-Off\drivers64 folder, right-click and select Copy (or Ctrl+C), and then Paste them into the EFI\CLOVER\drivers64 and EFI\CLOVER\drivers64UEFI folders of the U disk letter respectively.
After completion, insert the Windows system to install the U disk, but the difference is that when booting the boot disk, select the USB disk with the 200MB partition just made to boot, so that the NVME solid state hard disk can be used to boot and install the system on the old motherboard. . However, it should be noted that after installation, the Windows system installation disk can be removed, but the boot U disk must always be installed on the computer as a boot disk.

Dc Axial Fan,Dc Axial Flow Fan,Dc Tube Axial Fan,Dc Bifurcated Fan
Original Electronics Technology (Suzhou) Co., Ltd. , https://www.original-te.com