Valentine’s Day is just around the corner, and it’s a time when many people stress out over getting their loved one the perfect romantic gift. But honestly, sometimes the best gift is something simple that you put just a little sweat and elbow grease into!
Today we’re showing you how to make a simple DIY jewelry box Valentine’s Day craft, using some of our wonderful tapes, including: Pro® Felt, Pro® Sheen, and Pro® 965. This Valentine’s Day craft is easy for all ages, although we’d recommend supervising and assisting any children on cutting steps.
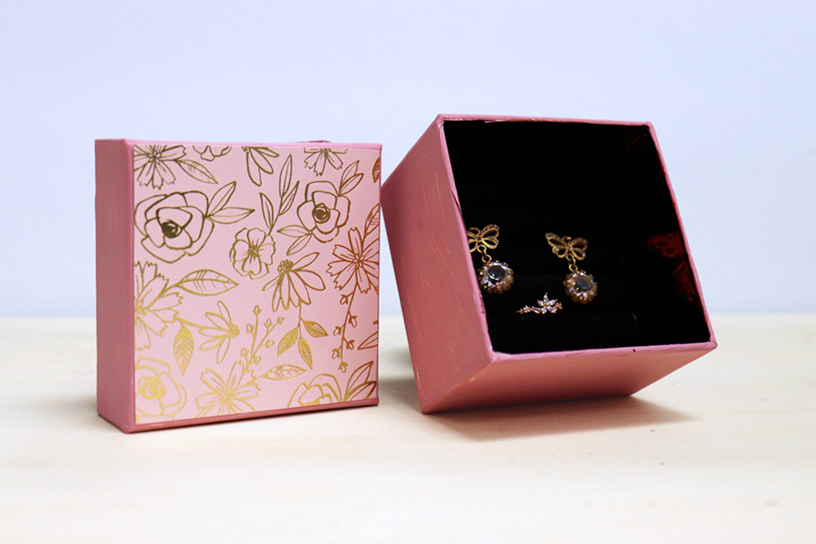
When you’re done with this nice DIY jewelry box, you could even put a nice shiny present you actually bought inside it, but you don’t have to… Who are we kidding!? You definitely should!!
Plus, once you understand how to make this craft, you can just as easily make a box for a watch, or a necklace, or any other precious gift, all using Pro® Felt for the inside lining, and all kind of others tapes to decorate the outside.
If you get inspired to make your own gift box, be sure to show off to us for free giveaways!
Supplies:
- Pro® Felt Tape
- Pro® 965 Hi-Tack Tape
- Pro® Sheen in Red
- Paper-based Box (I used a 3†x 3†and 2†deep box)
- Pink Floral Cardstock
- Cardboard sheets (preferably thinner ones)
- Craft Paint in Dusty Rose and White
- Foam Paintbrush
- Pencil
- Cutting Board
- X-Acto Knife
- Ruler
- Black sharpie
Step 1: Line the Inside of Your Box with Pro® Sheen in Red
I visited my local craft store and found myself a nice, simple paper box: 3†x 3â€, and 2†deep, with a lid you lift up to open. A box like this makes a great base for adding all kinds of decorations!
To start off, I lined the entire inside of the lid and the box with Pro® Sheen in Red.
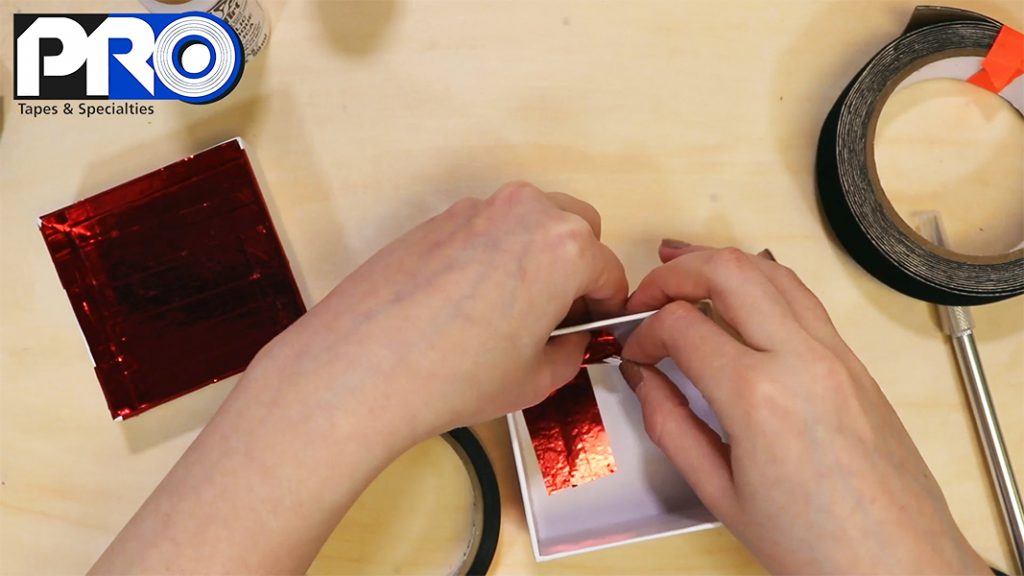
The neat thing about Pro® Sheen is that it layers really well. So don’t get anxious about the “perfect†way to cut and lay the Pro® Sheen down. I just focused on cutting short strips and filling in my blank spaces one strip at a time, smoothing them out as I go.
Step 2: Paint the Outside of Your Box with Pink Craft Paint
There’s no need to buy expensive professional-grade acrylic paints for this step! Regular craft paints will do just fine. I grabbed a “Dusty Rose†pink paint and mixed a little White into it, so that it would match the cardstock I’ll use on the lid later.
Then I took my inexpensive foam brush, and painted the sides, tops, and edges (carefully!) One coat of paint seemed to be enough for me, but you can let it dry and apply a second coat.
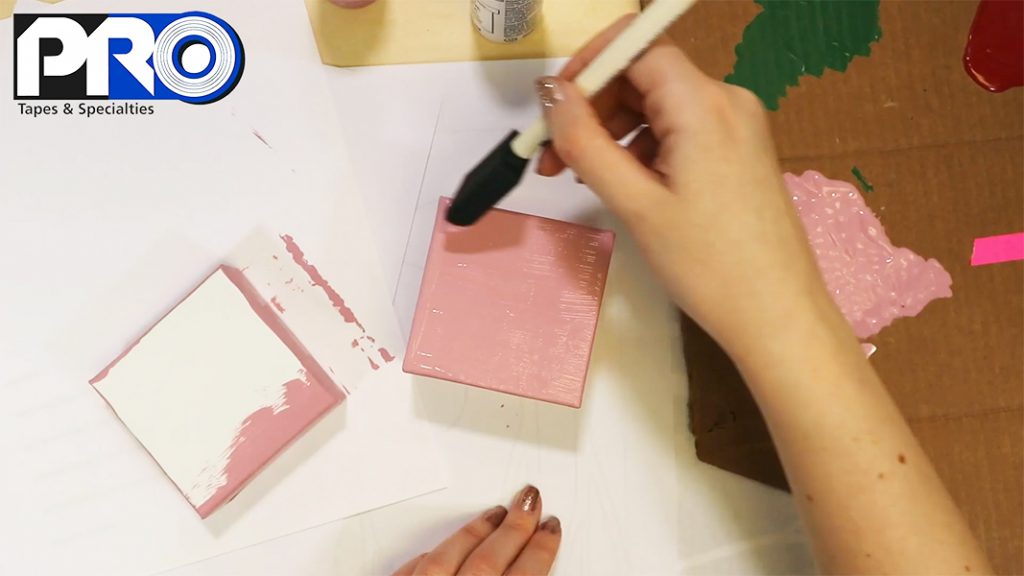
Make sure to let your paint dry completely before going onto the next step! Depending on weather conditions in your room, it could take more or less time. My guess is 30 minutes in a hot room, at least 1 hour in colder rooms.
Step 3: Attach your Floral Cardstock to your Lid with Pro® 965
Personally, I’m quickly becoming a fan of Pro® 965 Hi-Tack tape for any time I need to attach something quickly, easily, but also permanently.
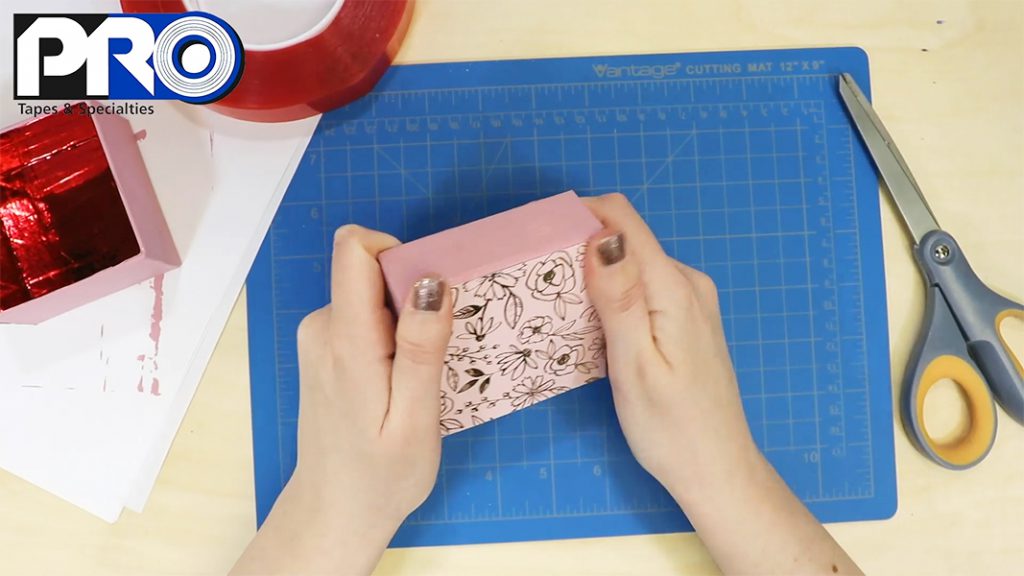
First, measure out the top of our lid. I already knew my lid should be 3†x 3â€, but I measured again just to make sure. Then I traced out the right size and shape on the back of my Pink Floral cardstock, then cut it out.
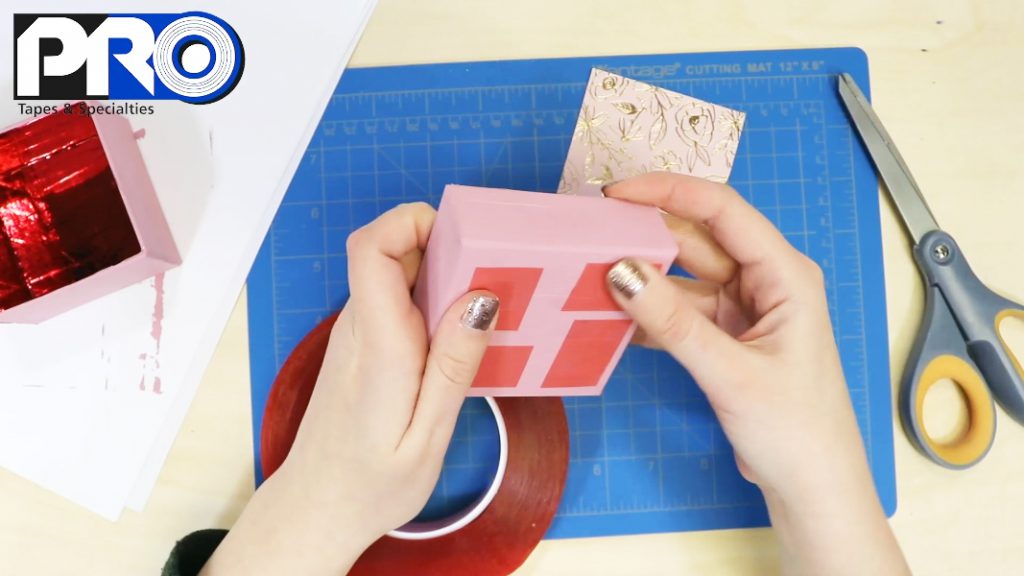
I cut out strips of Pro® 965 and stuck it in the corners of my lid, and peeled off the liner. Then I carefully and slowly placed my cut-out Pink Floral cardstock on top, making sure it aligned neatly.
Step 4: Make the Inside of your Jewelry Box with Pro® Felt
Now that the outside of our box is completed, we need to prepare the really impressive part – the felt-covered inside for display our jewelry!
For this step, we need cardboard (preferably the thinner kind), Pro® 965, and Pro® Felt Tape.
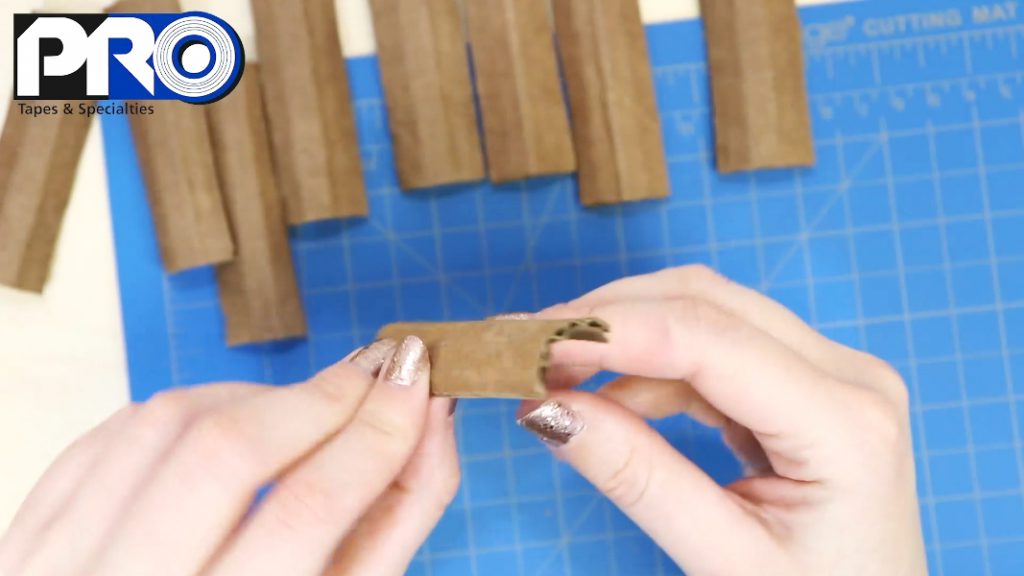
First, I measured out strips on my cardboard that would be the same width was the box for the length (3â€), and 1†wide. I cut out several strips, including some extra in case I needed more. To make them round (for the felt “bumpsâ€), I rolled the cardboard strips on my table and pinched them to make them keep their rounder shape.
Next I measured out 3†long strips of Pro® Felt. I was able to mark off the 3†mark with a black Sharpie, and cut out as many strips as I needed.
I applied the Pro® Felt strips along the cardboard strips, then I trimmed any excess tape or cardboard off.
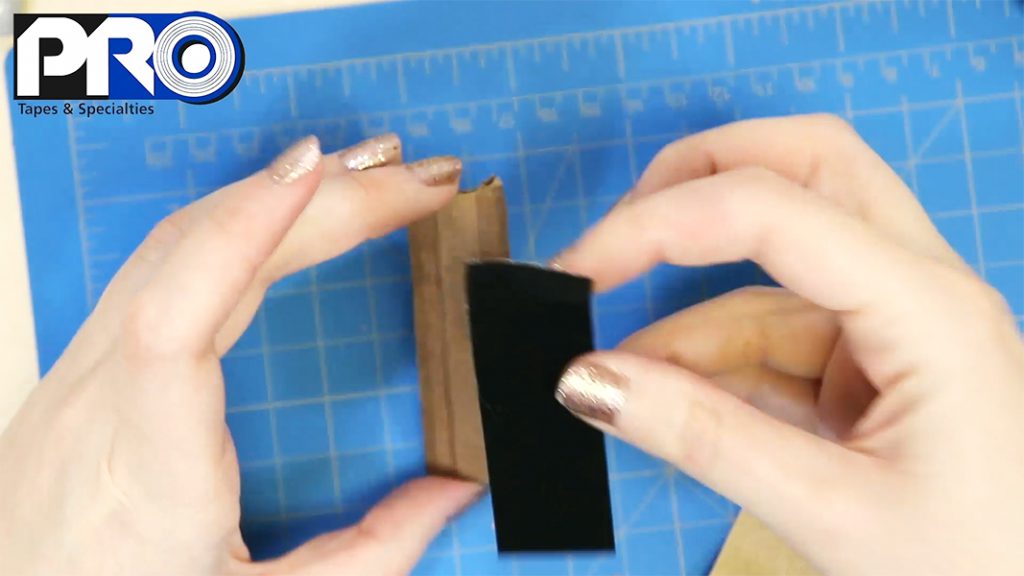
Now, we need to attach our Pro® Felt-covered-cardboard-strips onto a cardboard base which we will place inside our box. Again, I knew my box was 3†x 3â€, so I cut out that size square from my cardboard.
However, cutting the exact size of your box means this cardboard base probably wont fit perfectly *inside* the box. That’s why I grabbed my X-Acto knife and self-healing cutting board, and trimmed the edges down a little bit at a time, periodically testing it out by trying to fit the cardboard base into my box.
Once my base fit, I covered it with Pro® 965 on one side and peeled the liner. Now the base is ready to attach our Pro® Felt-covered strips!
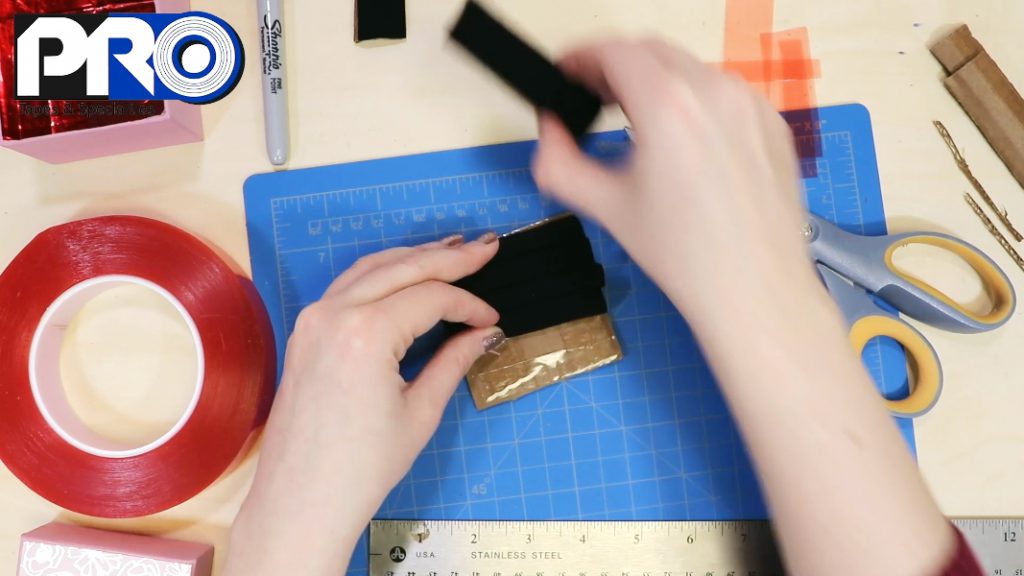
I started up at the top and attached my first Pro® Felt strip. You want to keep the felt strip pinched into a rounded position as you place it onto the base, then press firmly down so it sticks to the Pro® 965. Watching the video above for this step will really help illustrate how to do this!
I continued adding one strip at a time, lining them up “flush†or perfectly side-by-side, one bump after another.
Once it’s finished, you should have something that reminds you of jewelry boxes you’ve previously seen!
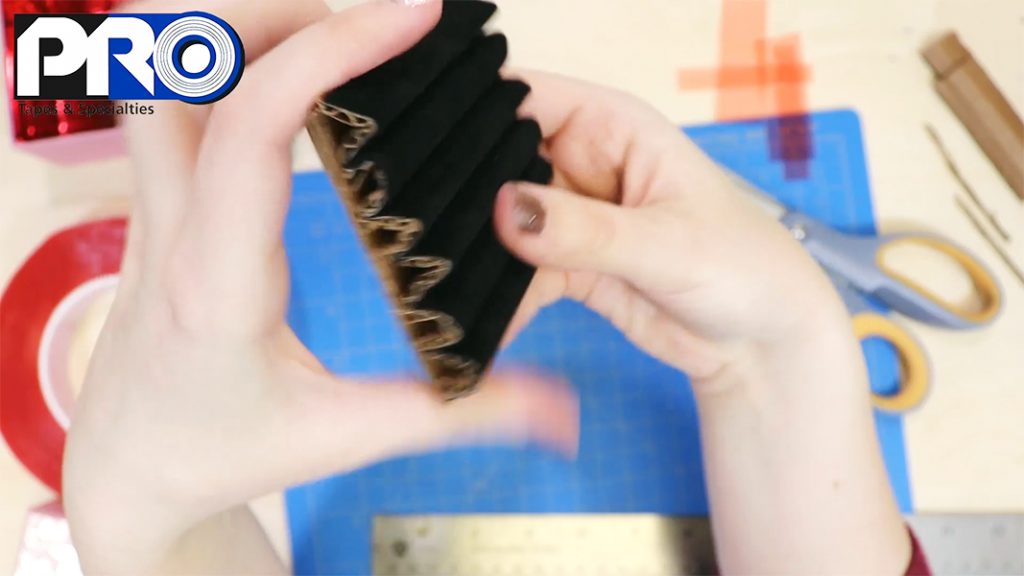
Before we can put this in our box, you may need to trim some excess cardboard or felt off to make sure it fits into the box perfectly. Time to use our X-Acto knife and cutting board again! Really take your time doing this, and be careful with that knife! If you’re doing this craft with children, you should definitely do this step for them if they’re under 12 years old.
Once your felt base is all trimmed up, go ahead and slide it down into the box! And believe it or not… that’s the final step! This Valentine’s Day craft is THAT simple!
Finished Product: Just Add in Some Jewelry!
Now you can go ahead and test out your new DIY jewelry box. You can put in rings, earrings, necklaces – anything you can stick between the felt bumps to hold them securely.
Now you can stop it off by tying on a ribbon, or add your own decorations with other tape! Get creative, and be sure to show off to us through our website or on our social media pages (just look for us @protapes)!

Did you try this craft out, or maybe you got inspired to make your own layered paper art using our tape? Share your photos with us here and you can receive free giveaway prizes!
ZGAR electronic cigarette uses high-tech R&D, food grade disposable pod device and high-quality raw material. All package designs are Original IP. Our designer team is from Hong Kong. We have very high requirements for product quality, flavors taste and packaging design. The E-liquid is imported, materials are food grade, and assembly plant is medical-grade dust-free workshops.
Our products include disposable e-cigarettes, rechargeable e-cigarettes, rechargreable disposable vape pen, and various of flavors of cigarette cartridges. From 600puffs to 5000puffs, ZGAR bar Disposable offer high-tech R&D, E-cigarette improves battery capacity, We offer various of flavors and support customization. And printing designs can be customized. We have our own professional team and competitive quotations for any OEM or ODM works.
We supply OEM rechargeable disposable vape pen,OEM disposable electronic cigarette,ODM disposable vape pen,ODM disposable electronic cigarette,OEM/ODM vape pen e-cigarette,OEM/ODM atomizer device.

ZGAR Disposable Vape 25 Disposable Vape, bar 3000puffs,ZGAR Disposable Vape 25, Disposable E-cigarette, ZGAR Disposable Vape 25 OEM/ODM disposable vape pen atomizer Device E-cig, ZGAR 25 Vape
Zgar International (M) SDN BHD , https://www.zgarvape.com